This feature is currently only supports websites built using wordpress.
The Vacancies feature allow you to create a job posting and post it directly on to your company website. Job vacancies created in SquidWeb will be displayed on a page of your website of your via our SquidWen wordpres plugin.
Creating vacancies is quick and easy with SquidWeb vacancies. Much like filling in a questionnaire, all required fields are provided by SquidWeb and all you need to do is enter the relevant information, the job post will then be formatted and posted to your website with a single click. Vacancies can also be deactivated once the position has been filled, or re activated should the position become available again, so there is no need to create the same job advert again and again.
Getting started
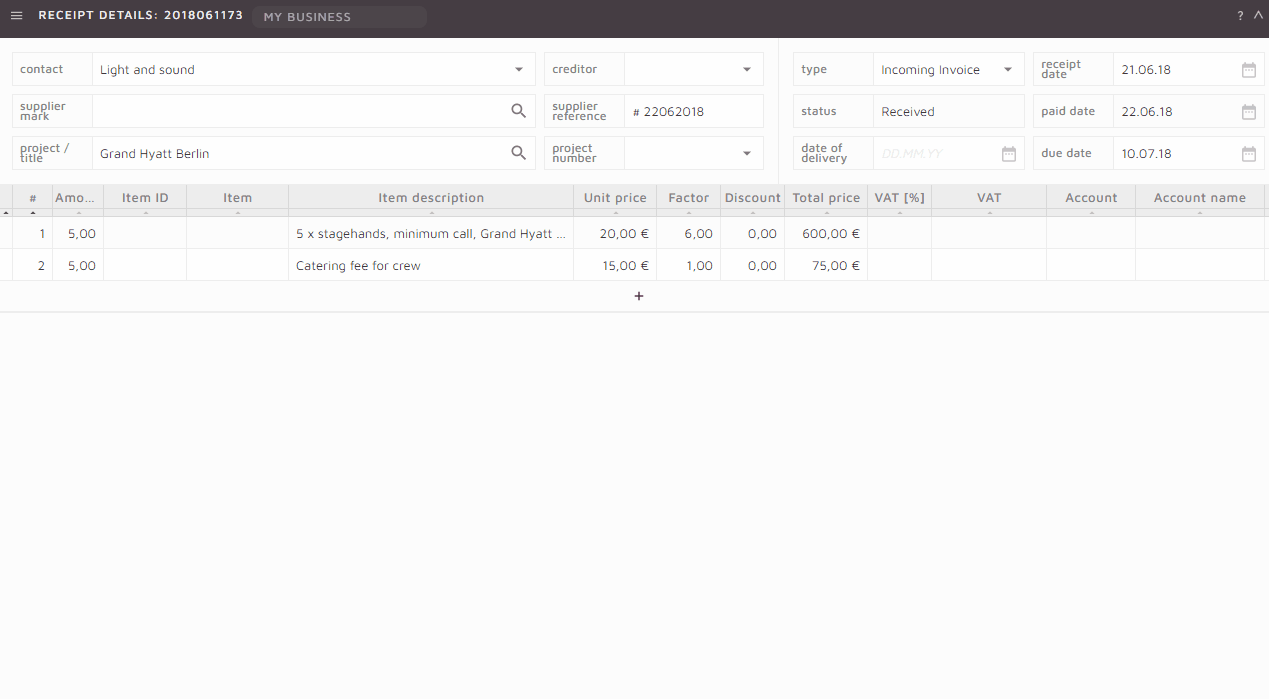
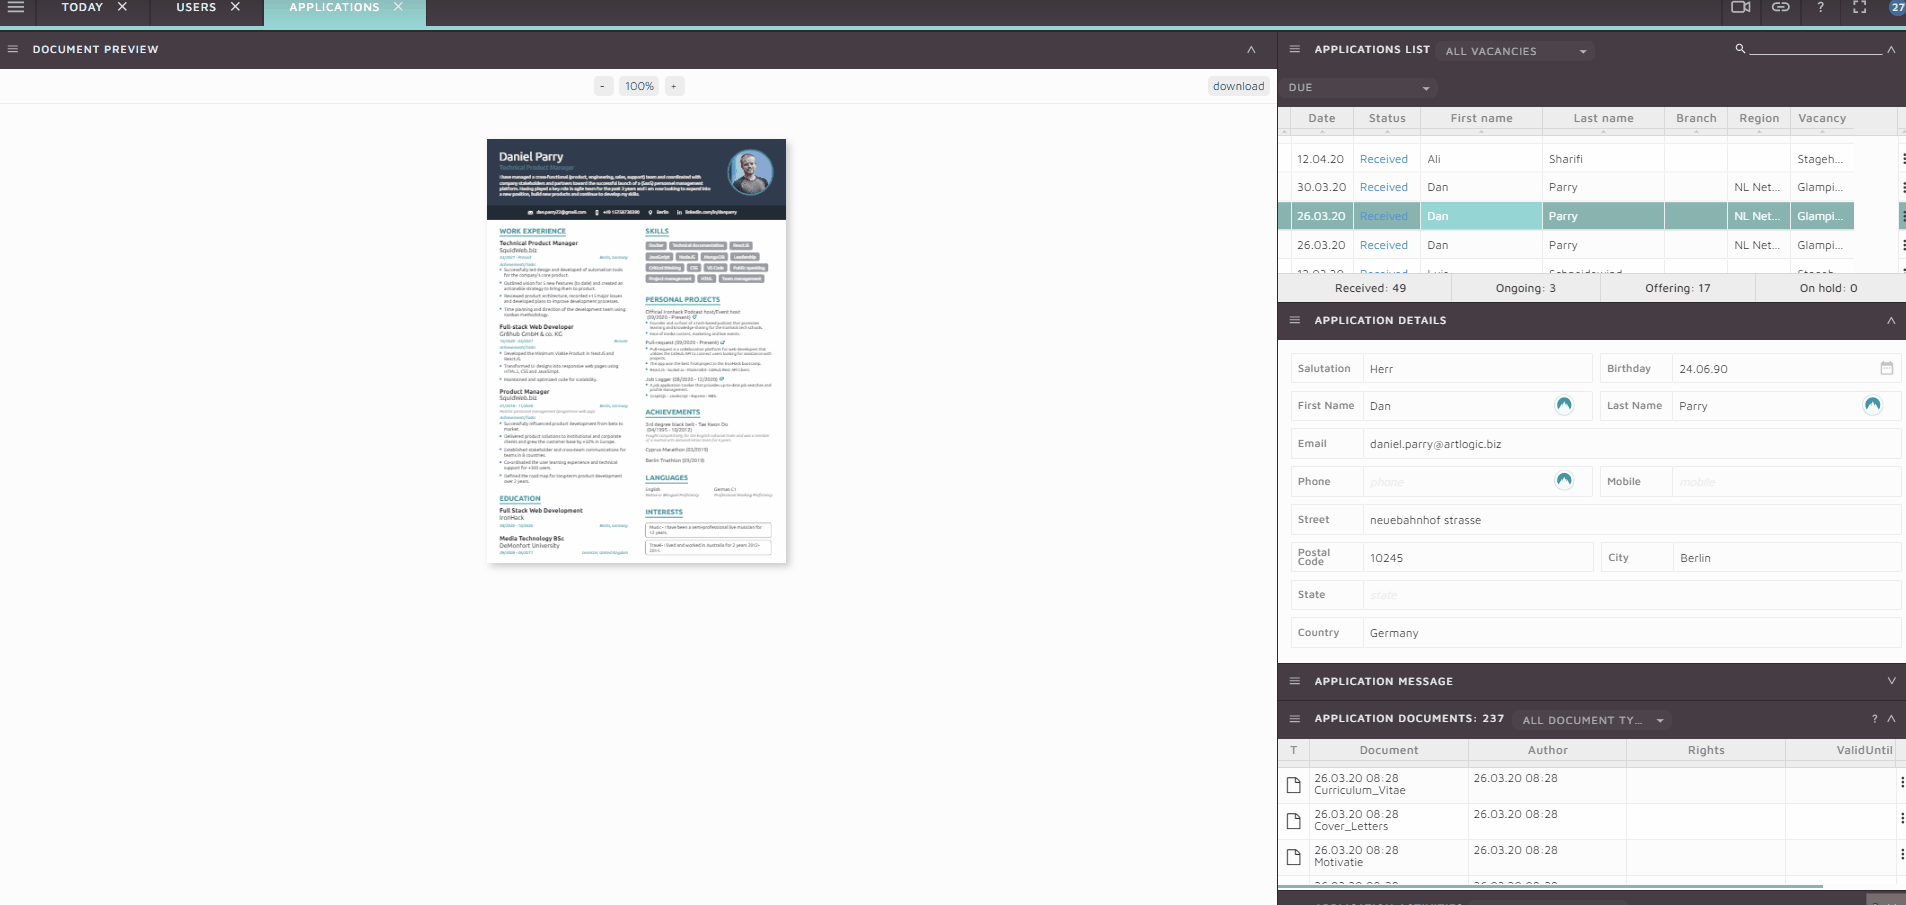
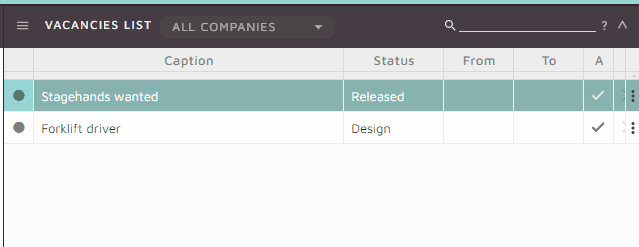
The Vacancies feature can be found in the main menu as part of the Recruitment suite. The Vacancies page is split into 2 parts, the MainPanel and the SidePanel, like many features in SquidWeb, the MainPanel will display the information of the item selected in the SidePanel. In the example below, selecting a vacancy from the Vacancies List container (SidePanel) will display all the details of that vacancy in the Vacancy Details container (MainPanel):
Adding a Vacancy
To create a new vacancy, select “add new vacancy” from the Vacancies list container menu.
This will trigger the new vacancy dialog that will prompt you to add caption (title) of the vacancy, the company in your tenancy it belongs to and, optional start and end dates. Selecting “Create” will generate a new, empty vacancy.
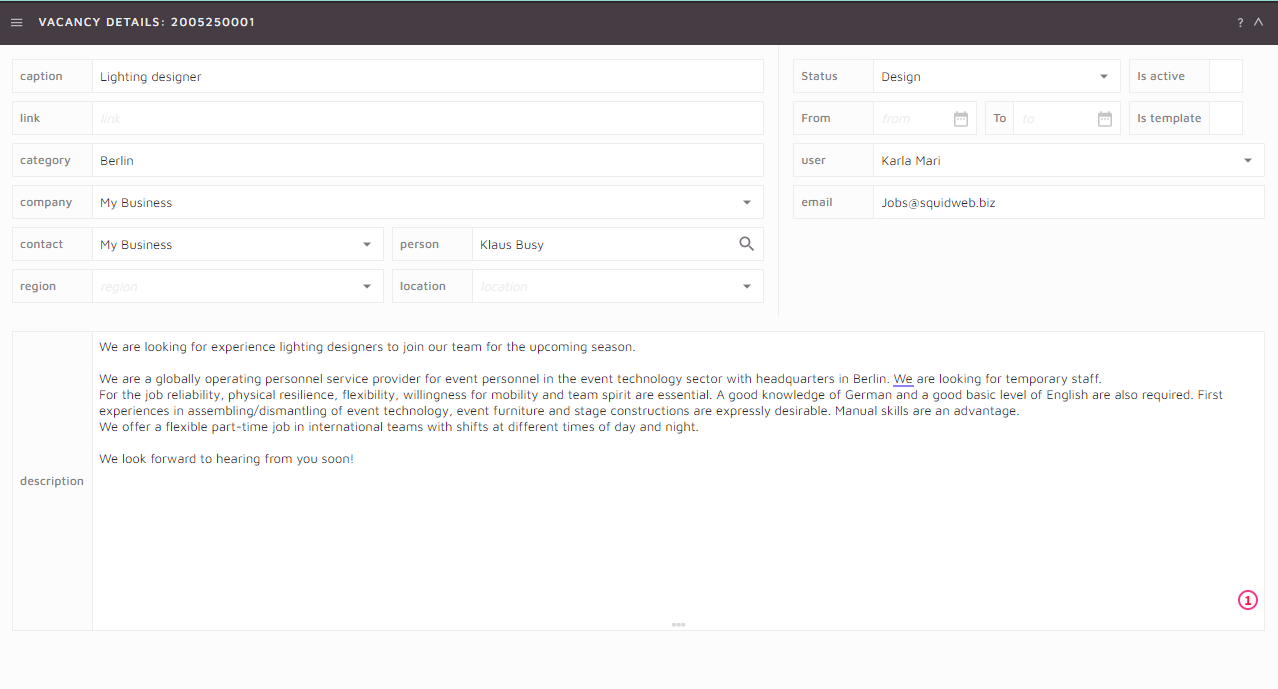
All the details of the vacancy can now be entered to the vacancy details container header:
Caption – Title of the vacancy (already completed in vacancy creation)
Link – Once the vacancy has been published the URL will be available to post in any other platform.
Category – The group the vacancy will be displayed under. The category will usually be a location so all “London” jobs will be displayed together for example.
Company – Company posting the job.
Contact – Contact group responsible for the job posting.
Person – Contact person responsible for the job posting. This name will appear on the website as the contact name.
Region/Location – Area the applicants will be expected to work in.
Description – Editable text field to add information about the job for the applicants to read.
Status – There are 2 status options, Design and Released, a vacancy should remain in design until it is ready to be published so other users know it is not ready.
From/To – The date the vacancy is available for (may already be filled from vacancy creation)
User – The user that created the vacancy should be selected from the drop menu.
Email – The email application will be sent to. This address will appear on the website alongside the contact person.
is Active – If this box is not checked the vacancy will not appear online. Mark as active when it is ready.
is Template – If this is marked the vacancy will be available to use as a template when creating future vacancies.
Assign documents
Applicants will be required to upload specific documents when apply for a job vacancy, these documents can be defined in SquidWeb when creating the vacancy.
In the lower section of the SidePanel you will find the “Assigned document types” container. The documents assigned to the vacancy will depend on the job being advertised and can be turned on or off as needed.
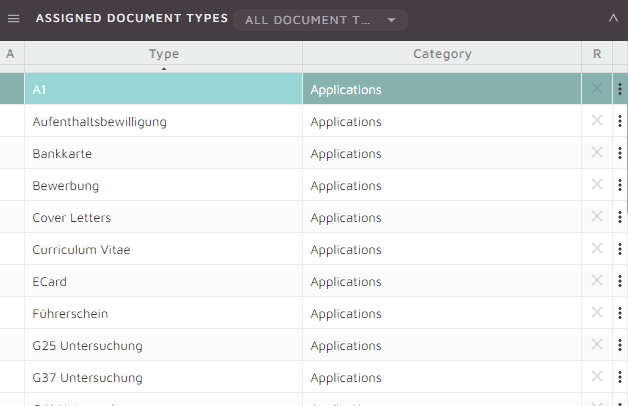
A document can be marked as “required” or “active”, if a document is marked as required, it will be automatically set to active, but a document set to active is not automatically set to required.
For Example if a Cover Letter is set to active but not required, the option will be available on the application page but the user may send their application without including it.
To assign documents to a vacancy, select the desired document from the list and mark the “R” column with a single click. If a document is not required but desired, mark it as active and it will be included as an option on the application page for the applicant.
Once the details have be added, the job description has been written, and the documents have been assigned the vacancy status should be set to “active”. The vacancies page can then be synced and the new job posting will be posted on the web page, this is done by selected the “Sync” option in the Vacancies list container.
That’s all you need to to do post a new job vacancy! After you have synced Squidweb with your website, the new vacancy will appear on the page and be ready to accept applications. To view how to handle applications check out our Applications article.