Posts

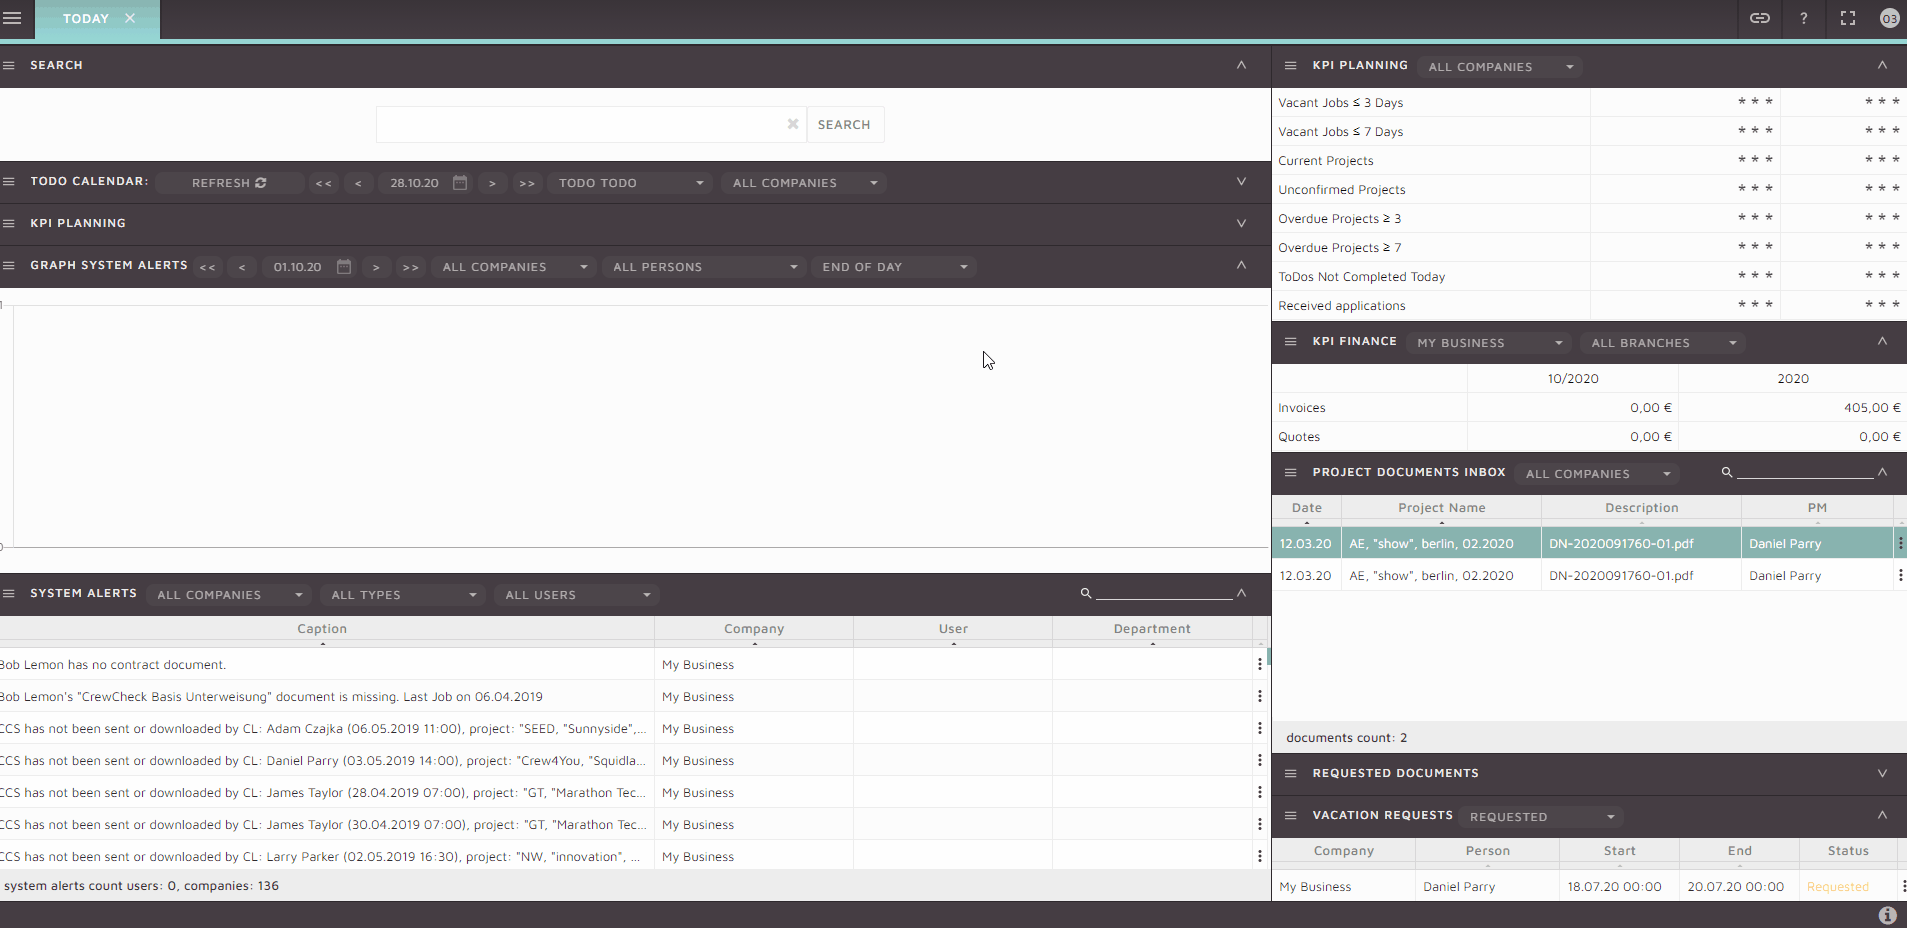
SquidWeb Leads feature is designed to help generate new potential clients by listing all current leads, their communication status, assigned manager and current “temperature”.

New leads can be added individually or in bulk via an xlsx file upload- this makes it possible to upload all leads that may previously be stored in spreadsheets or Excel files.
The current status of all leads can be viewed and edited so all team members know which stage of communication the lead is in – as well as this a Temperature system is displayed to show if the lead has responded to attempted outreach or if they have refused any further chance of working together. Once a Lead is Hot it can be turned directly into a system contact, so projects can begin to be made for them.
The temperature system is scaled as follows:

  • Dead: Lead has refused any cooperation – Gray
  • Cold: Lead has not responded to outreach – Blue
  • Warm: Lead has responded to outreach but is not yet a paying client – Yellow
  • Hot: Lead is ready to become a client and be made into a contact – Red

Each lead is also assigned a manager, a team member that is responsible for overseeing the communication with the specific lead.

Bulk mail can be sent to all leads in a specific status at once, allowing for large scale outreach with only one action – The status of all leads will be automatically updated once communication has been made, keeping all team members informed at a glance.

When uploading leads in bulk, the file must be formatted in a specific way to be read correctly by SquidWeb during the import, to help with this we have provided an example file that can be used as a template.
Click here to access the file

The full wiki page can be found here https://wiki.squidweb.info/index.php?title=Leads

Check out our tutorial for further details:

The mailbox autoresponder can be set when you are on vacation of absent for any reason. Once set up all incoming emails to the chosen mailbox will be automatically replied to with a preset response.

To set the autoresponder navigate to the mailbox settings and set the Autoresponder section to active. Once active you may select a timezone, this is important as specific times may be chosen for the autoresponder to be active for each day of the week and if you client are in other parts of the world an incorrect timezone may cause your autoresponder not to be sent. A template can be used or a custom message my be added to an autoresponder email, in either case variables are available to be added.

{{date}} – representing the current date

{{nextAvailableDate}} – represent the next a date in the crew planner your user account is not booked for.

These variables will be replaced when with the corresponding value when the email is triggered. Adding these two variables to your autoresponder message template allows the same template to be used multiple times without the need to manually change the dates you are out of the office.

Finally, as mentioned, the exact time of day the autoresponder is active can also be defined. Each day of the week may be customized to allow for inconsistent absences (9am-1pm on Tuesday and Wednesday for example), however adding “0” to a day will automatically set the responder as active for the entire day. Details on this and more are explained in the tutorial below:

SquidWeb mailbox has a number of features designed to help you manage your mailbox quickly and easily. Here are a few of our recommendation to help you work quickly and efficiently:

Keyboard Shortcuts:

Select and email and press the following command to perform the action.

CTRL + A:  Reply;

CTRL + C:  Mark as spam;

CTRL + D:  Mark as done;

CTRL + G:  Refresh grid;

DELETE:  Delete mail

Using keyboard shortcuts:

Move to done

If you have multiple emails that are “Read-only” in that they do not require a response or any further action from you or your colleagues, mark this as done right right away: Hold SHIFT to select multiple emails and press CTRL+D

Mark as Spam

Select multiple emails with SHIFT and press CTRL+X. The email status will change to “Deleted” but they will still be in the mailbox until the page is refreshed, press CTRL+G to refresh the grid and remove the marked spam. The page does not refresh automatically incase you make a mistake and need to change a status back from deleted or add additional mail to the spam list.

Reply quickly

To write a response, select the mail in the mailbox and press CTRL+A to instantly open the reply email dialog, type the body of text and when you are done simply press CTRL+ENTER to send the mail without needing to click.

Default mailbox

If you set a default mailbox, new mail will be sent from that address by default and you can filter the mailbox to display only your default mailbox by selecting the “Default” button in the header.

Choosing a default mailbox is simple:

  • Navigate to your profile settings in the top right corner of the dashboard
  • Select ‘User Settings’
  • Select your chosen mailbox from the ‘mailbox’ dropdown menu
  • Save

Mailbox filter, status indicators and search function

The mailbox filter allows you to manually select which mailbox is displayed whereas selecting the “default” button will show your chosen default mailbox. When opening the filter you will be able to select from all the mailboxes your user account has access to, both public and private mailboxes will be available to select.

You will notice a list of numbers below each available mailbox, these numbers represent the amount of emails in each status in this order:

Received/Ongoing/Assigned/Auto-Assigned/Delivered/Done/Deleted

The amount of mails in the selected mailbox is also displayed in the status filter menu


The mailbox allows full text search which means sender, subject and email body search.

Additional tips

Drafts:
If you accidentally close your tab or the new email dialog, your mail will be automatically saved as a draft that can be accessed at any time. To find a draft email select the “Draft” from the status filter.

Show History:
To view only the email history between the selected mailbox and a specific contact, right click on any email from the contact and select “show history”, this will filter out any other mail from the mailbox that does not include this contact. There is also a container in the SidePanel titled ‘Email history’ that will display the same content.


An Email can be marked as spam in the Mailbox by selecting it and simply pressing CRTL + X.
The email content field will be automatically updated to “SPAM” and the status will be set to “Deleted” once the mail is marked as SPAM, it will also disappear after the page is refreshed so no further action is needed.

Select the Type cell on the far left of the mail and press CTRL+ x OR right click on it and select “Mark as spam”:

If you want to access an email that has already been marked as SPAM, select the “deleted” status from the status filter to view all deleted emails.

Workflow

  • Select the type cell on the far left of the inbox email row
  • Press CTRL+X OR right click and select “Mark as spam”
  • Email will status will be changed to Deleted
  • Email content field in the “email assignment” container will be updated to Spam
  • Refresh the page and the email will be gone
  • View deleted status email to access an email accidentally marked as spam

SquidWeb’s mailbox is an integrated email system that allows for the creation and processing of mail for public or private mailboxes – an address can be created for individual team members or company departments.

As well as being a fully functional email client- allowing users to read, filter, reply, forward and create emails – Mailbox allows users to assign an email to other destination within in SquidWeb:
An email can be assigned to a specific category such as ‘Projects’, ‘Invoices’ or ‘Receipts’. Once a mail is assigned to ‘Projects’ for example, it may then be attached to an existing project or a new project can be created directly from the mailbox page:

To create a project directly from the mailbox page, right click the email in the email list or its attachment, the email must have the status ‘assigned’ or ‘received’.

Emails and their attachments will be accessible from their assigned destination.

Mail- Appointments enable to send a new email or replying to an existing email chain, with the option of adding a Jitsi meeting appointment which will be automatically added to the calendar authorized via Squid, which is in most cases Google Calendar.

Show email history can be used to quickly identify the history and all statuses connected to an email chain. It can be seen under the specific email and on the right hand side Email history container:

Draft emails can also be created to prevent email lose. If SquidWeb is accidentally closed, or refreshed, for any reason while an email is being written, a draft email will be created to store the email. Saving the content of the mail to be sent later. Once created draft emails can be accessed by selecting the number in the email list container header. Clicking on this button will filter the email list to show only mail with the status “Draft”:

Draft emails can also be filtered by selecting “Draft” from the status filter in the email list header. For details on how to display and interact with the status filter, as well as full details on all other Mailbox features, layout and functionality, watch our tutorial video here:


SquidWeb is full of shortcuts and features that will help make your life easier.

We have combined all the tips and tricks we learned from our users at the 2019 Squidlympics to create this ultimate user guide to efficient project creation.

Using these shortcuts will help you streamline your workflow and might help you out in the busy season…

Check out the video here!

Tab works in SquidWeb in the same way it functions throughout Windows- Tab will move focus to the next tab stop and Shift+Tab will move focus back to the previous tab stop.

This can be used to navigate projects pages or dialoges.

However, when a dialog pops up, using Shift+Tab will jump focus straight to the last tab stop, allowing you to release the dialog instantly.

Check out this quick video to show you how it works!