
Mailbox
SquidWeb’s mailbox is an integrated email system that allows for the creation and processing of mail for public or private mailboxes – an address can be created for individual team members or company departments.
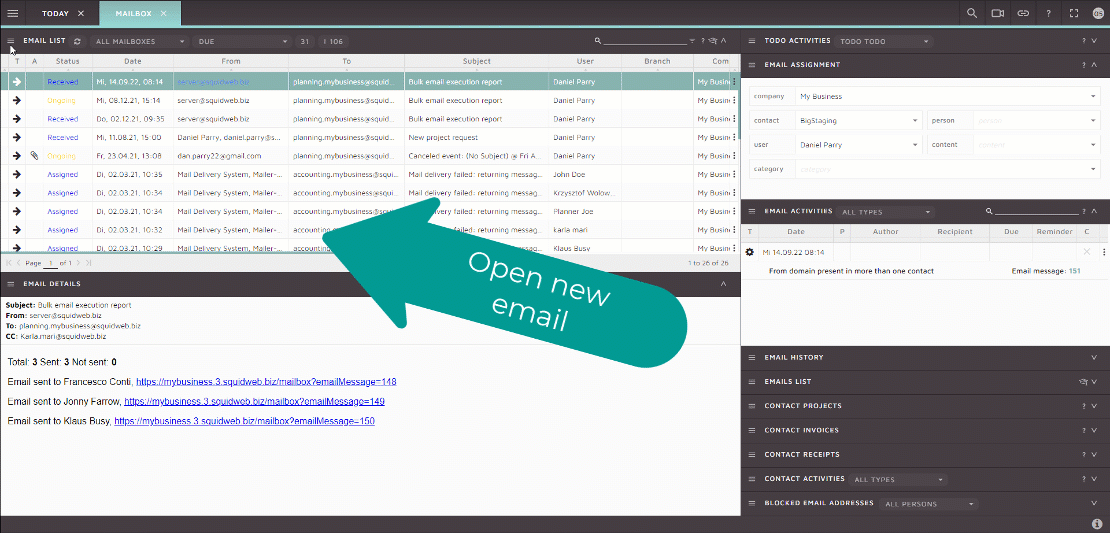
As well as being a fully functional email client- allowing users to read, filter, reply, forward and create emails – Mailbox allows users to assign an email to other destination within in SquidWeb:
An email can be assigned to a specific category such as ‘Projects’, ‘Invoices’ or ‘Receipts’. Once a mail is assigned to ‘Projects’ for example, it may then be attached to an existing project or a new project can be created directly from the mailbox page:
To create a project directly from the mailbox page, right click the email in the email list or its attachment, the email must have the status ‘assigned’ or ‘received’.
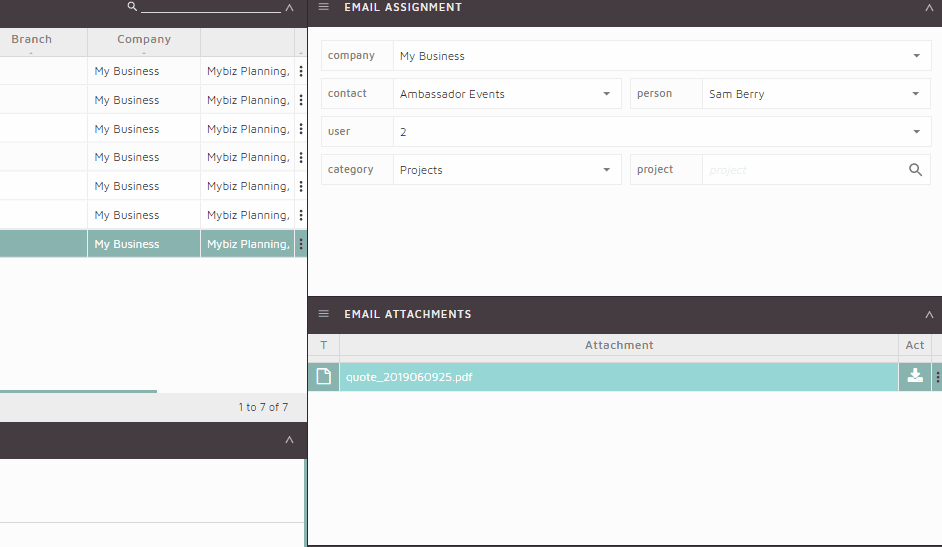
Emails and their attachments will be accessible from their assigned destination.
Mail- Appointments enable to send a new email or replying to an existing email chain, with the option of adding a Jitsi meeting appointment which will be automatically added to the calendar authorized via Squid, which is in most cases Google Calendar.
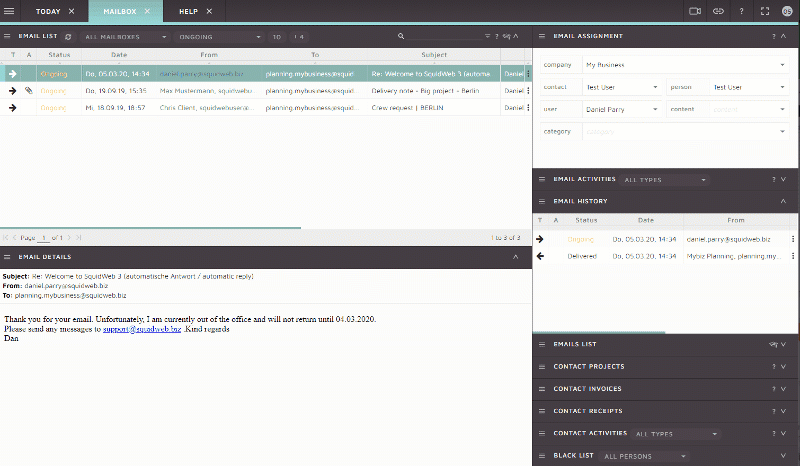
Show email history can be used to quickly identify the history and all statuses connected to an email chain. It can be seen under the specific email and on the right hand side Email history container:
Draft emails can also be created to prevent email lose. If SquidWeb is accidentally closed, or refreshed, for any reason while an email is being written, a draft email will be created to store the email. Saving the content of the mail to be sent later. Once created draft emails can be accessed by selecting the number in the email list container header. Clicking on this button will filter the email list to show only mail with the status “Draft”:

Draft emails can also be filtered by selecting “Draft” from the status filter in the email list header. For details on how to display and interact with the status filter, as well as full details on all other Mailbox features, layout and functionality, watch our tutorial video here:
Leave a Reply
Want to join the discussion?Feel free to contribute!