Overview
The wokflow of automating crew booking touches on several features such as: Find the best person container, Bulk options ( Add spare, Suggest crew, Change crew) and Robots ( Add spare robot, delete and assign spare robot).
Keep in mind the company role “Find Best Crew” should be assigned also!
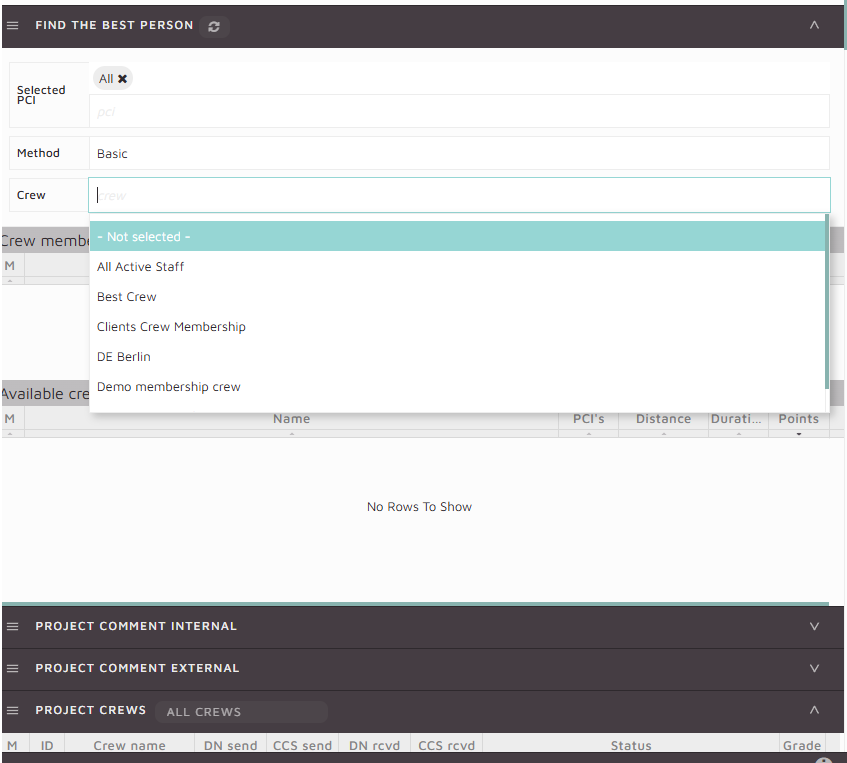
Find the best Person
The Find the best person container calculates the eligibility of all crew members for a selected shift (or shifts) and lists them in order of priority for you to add to the project.
SquidWeb takes into consideration the crew members contracted hours, current amount worked hours (monthly) and their travel time to the job location to provide you with a list of names to add to your project.
Please notes methods are defined in Company settings.
Drag and drop crew members via shift tile view!

Bulk Actions
Add spare
A user can perform a quick bulk action by adding a spare with a specific function and insert a new position in an existing project. This process can be automated by adding a robot and making sure the robot action type is “PROJECT ADD SPARE”.
Suggest crew
A user can perform a bulk action on suggesting a crew members based on the input data. Unlike the Find the best person feature this option is a fully automated option meaning the Project crew items will be automatically changed based on the suggested crew.
Change crew
When crew members need to be changed from one project crew to another, the bulk action can enable a quick and easy chanbe by selecting the crew members and applying Bulk Action Change Crew.
Default spare robot – Add, delete and assign spare
There are 3 different robot automations that can be executed such as: adding spare positions to project robot, deleting empty spare positions and assigning crew members using the find the besr person method to assign crew members.