The mailbox autoresponder can be set when you are on vacation of absent for any reason. Once set up all incoming emails to the chosen mailbox will be automatically replied to with a preset response.
To set the autoresponder navigate to the mailbox settings and set the Autoresponder section to active. Once active you may select a timezone, this is important as specific times may be chosen for the autoresponder to be active for each day of the week and if you client are in other parts of the world an incorrect timezone may cause your autoresponder not to be sent. A template can be used or a custom message my be added to an autoresponder email, in either case variables are available to be added.
{{date}} – representing the current date
{{nextAvailableDate}} – represent the next a date in the crew planner your user account is not booked for.
These variables will be replaced when with the corresponding value when the email is triggered. Adding these two variables to your autoresponder message template allows the same template to be used multiple times without the need to manually change the dates you are out of the office.
Finally, as mentioned, the exact time of day the autoresponder is active can also be defined. Each day of the week may be customized to allow for inconsistent absences (9am-1pm on Tuesday and Wednesday for example), however adding “0” to a day will automatically set the responder as active for the entire day. Details on this and more are explained in the tutorial below:
https://squidweb.info/wp-content/uploads/mail.jpg8001200SuperAdministratorhttps://squidweb.info/wp-content/uploads/Sin-titulo-600-x-180-px-300x90.pngSuperAdministrator2020-12-16 14:07:462021-12-10 11:20:11How to set mailbox autoresponder
SquidWeb mailbox has a number of features designed to help you manage your mailbox quickly and easily. Here are a few of our recommendation to help you work quickly and efficiently:
Keyboard Shortcuts:
Select and email and press the following command to perform the action.
CTRL + A: Reply;
CTRL + C: Mark as spam;
CTRL + D: Mark as done;
CTRL + G: Refresh grid;
DELETE: Delete mail
Using keyboard shortcuts:
Move to done
If you have multiple emails that are “Read-only” in that they do not require a response or any further action from you or your colleagues, mark this as done right right away: Hold SHIFT to select multiple emails and press CTRL+D
Mark as Spam
Select multiple emails with SHIFT and press CTRL+X. The email status will change to “Deleted” but they will still be in the mailbox until the page is refreshed, press CTRL+G to refresh the grid and remove the marked spam. The page does not refresh automatically incase you make a mistake and need to change a status back from deleted or add additional mail to the spam list.
Reply quickly
To write a response, select the mail in the mailbox and press CTRL+A to instantly open the reply email dialog, type the body of text and when you are done simply press CTRL+ENTER to send the mail without needing to click.
Default mailbox
If you set a default mailbox, new mail will be sent from that address by default and you can filter the mailbox to display only your default mailbox by selecting the “Default” button in the header.
Choosing a default mailbox is simple:
Navigate to your profile settings in the top right corner of the dashboard
Select ‘User Settings’
Select your chosen mailbox from the ‘mailbox’ dropdown menu
Save
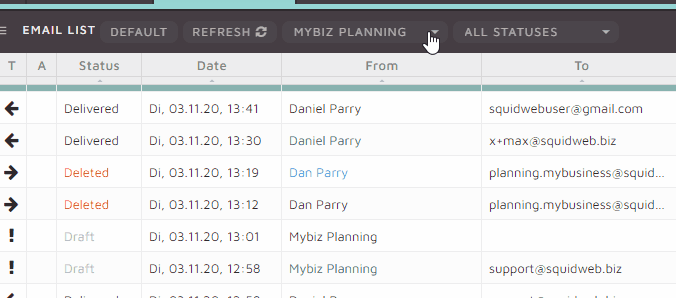
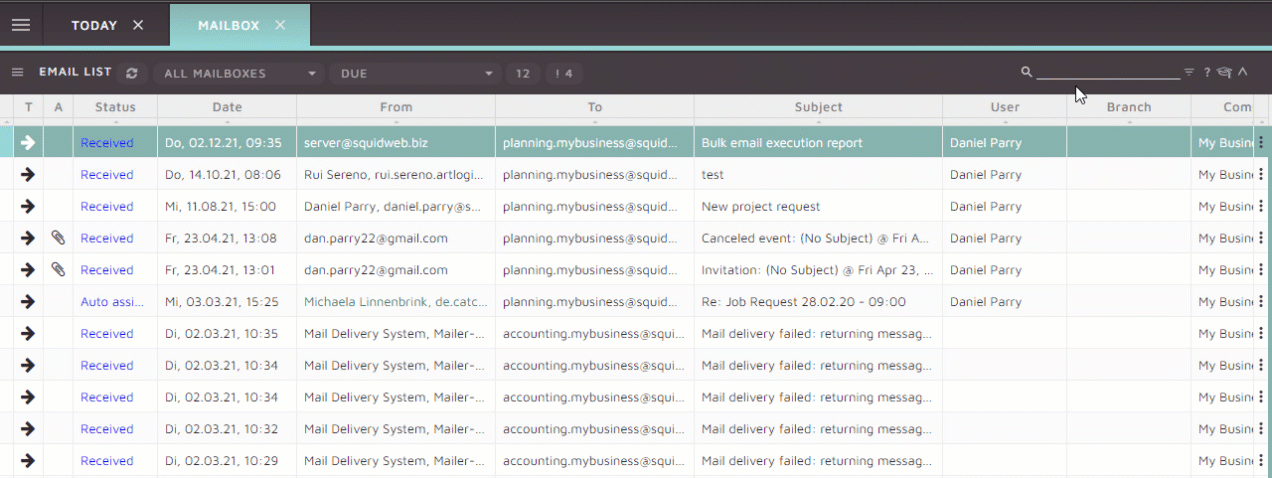
Mailbox filter, status indicators and search function
The mailbox filter allows you to manually select which mailbox is displayed whereas selecting the “default” button will show your chosen default mailbox. When opening the filter you will be able to select from all the mailboxes your user account has access to, both public and private mailboxes will be available to select.
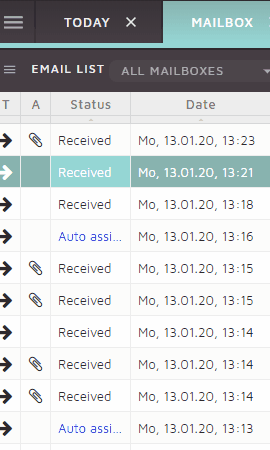
You will notice a list of numbers below each available mailbox, these numbers represent the amount of emails in each status in this order:
The amount of mails in the selected mailbox is also displayed in the status filter menu
The mailbox allows full text search which means sender, subject and email body search.
Additional tips
Drafts: If you accidentally close your tab or the new email dialog, your mail will be automatically saved as a draft that can be accessed at any time. To find a draft email select the “Draft” from the status filter.
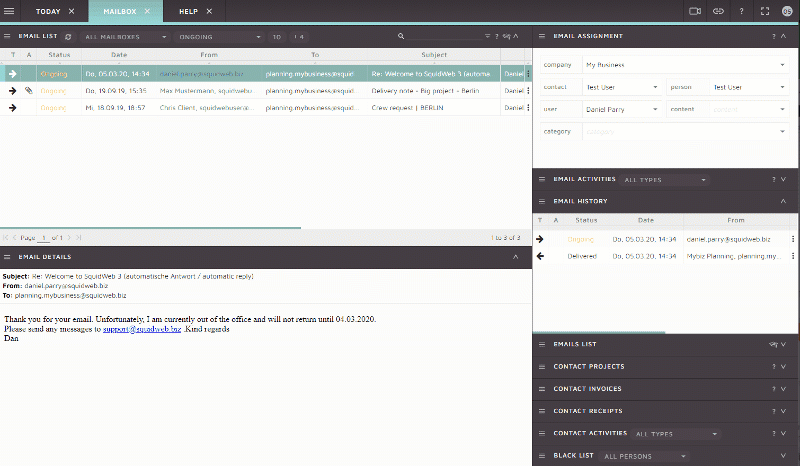
Show History:
To view only the email history between the selected mailbox and a specific contact, right click on any email from the contact and select “show history”, this will filter out any other mail from the mailbox that does not include this contact. There is also a container in the SidePanel titled ‘Email history’ that will display the same content.
3
https://squidweb.info/wp-content/uploads/Sin-titulo-600-x-180-px-300x90.png00SuperAdministratorhttps://squidweb.info/wp-content/uploads/Sin-titulo-600-x-180-px-300x90.pngSuperAdministrator2020-10-27 11:35:362021-12-09 11:21:58Faster ways to process your mail
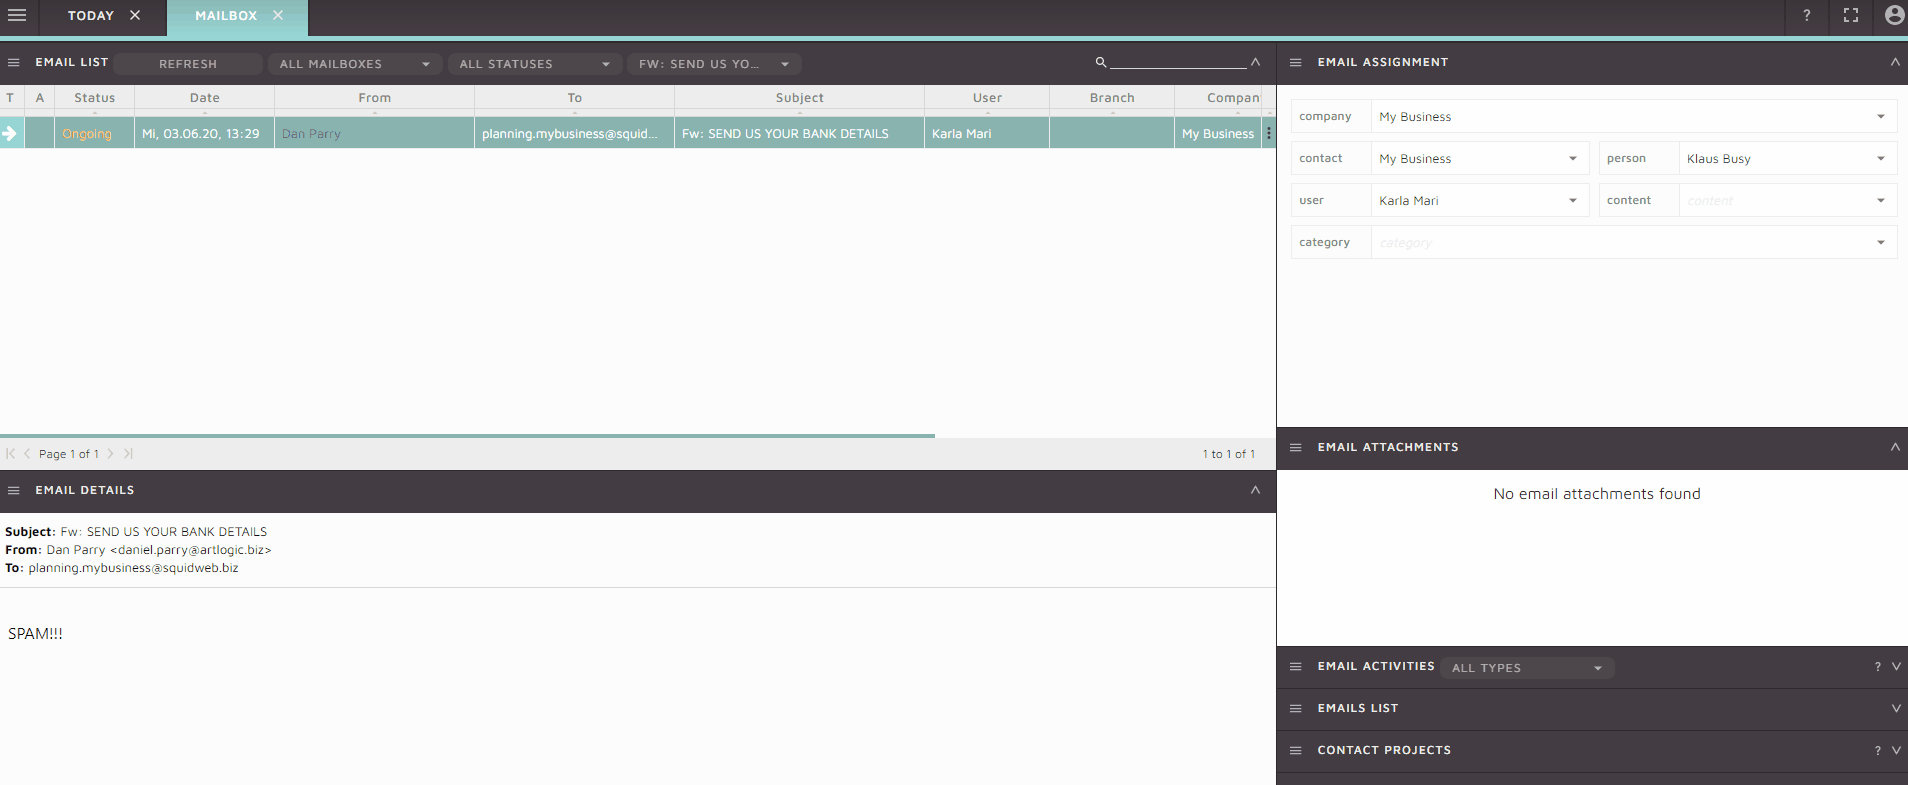
An Email can be marked as spam in the Mailbox by selecting it and simply pressing CRTL + X.
The email content field will be automatically updated to “SPAM” and the status will be set to “Deleted” once the mail is marked as SPAM, it will also disappear after the page is refreshed so no further action is needed.
Select the Type cell on the far left of the mail and press CTRL+ x OR right click on it and select “Mark as spam”:
If you want to access an email that has already been marked as SPAM, select the “deleted” status from the status filter to view all deleted emails.
Workflow
Select the type cell on the far left of the inbox email row
Press CTRL+X OR right click and select “Mark as spam”
Email will status will be changed to Deleted
Email content field in the “email assignment” container will be updated to Spam
Refresh the page and the email will be gone
View deleted status email to access an email accidentally marked as spam
3
https://squidweb.info/wp-content/uploads/Sin-titulo-600-x-180-px-300x90.png00SuperAdministratorhttps://squidweb.info/wp-content/uploads/Sin-titulo-600-x-180-px-300x90.pngSuperAdministrator2020-06-03 13:49:352021-12-09 11:22:52Mark and remove spam emails
A bulk, or group, email can be sent from SquidWeb in a number of ways. Skip to the bottom for our tutorial video.
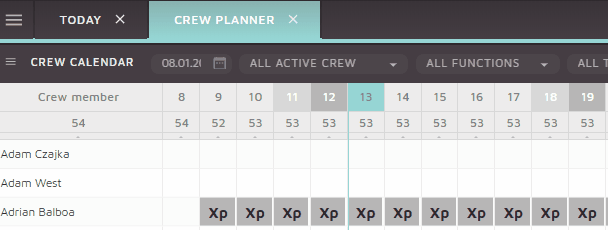
From the Crew Planner Select “Send email” from the crew calendar container menu to trigger a new email window. This email will be sent to every member of the currently selected crew, so be sure to filter the crew calendar to the crew members you wish to contact before selecting “Send email”.
From the Employees list Similar to the crew planner, select “Send email”, this time from the employees list container menu, and a new email window will be triggered. This email will be sent to every employee in the current list, so be sure to have the correct company and period selected first.
From the Project details page In the project container menu, the “Send email” option can be used to send a bulk email to all crew members entered into the project. If the position has a crew member assigned to it, and that crew member has an email address assigned to their contact details, they will be included in the mailing list.
From the Mailbox From the Email list container menu, select “New bulk Email”, unlike the previous two methods an email dialog will not be triggered right away, first you will be asked to select a mailing list to send the email to.
A mailing list must be created beforehand. Any mailing list can be created, such as ‘all employees’, ‘all clients’ or ‘all contacts in the city of Paris’, it is simply a list of persons from within your database.
To create a new mailing list, please send a request to support with your requirements, ie “A new mailing list to all clients in Spain” and we will add it for you.
This method should be used to send Newsletters or company announcements. Templates Like many things in SquidWeb, templates can be created to make things easier. Bulk email templates are created in the templates page with the template type “EmailMessage”.
Bulk email templates are a little more complex then usual templates as HTML can be used to add images, coloring and logos. A tip video for this will be available soon.Our video below will show you how to work with each tool:
https://squidweb.info/wp-content/uploads/Sin-titulo-600-x-180-px-300x90.png00SuperAdministratorhttps://squidweb.info/wp-content/uploads/Sin-titulo-600-x-180-px-300x90.pngSuperAdministrator2020-01-13 13:41:022021-12-09 11:10:02Bulk Mail tools
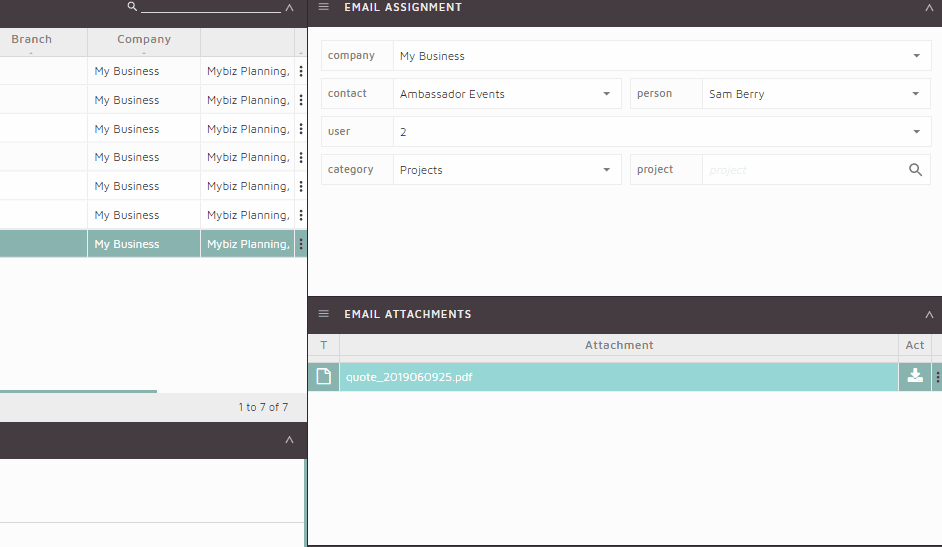
SquidWeb’s mailbox is an integrated email system that allows for the creation and processing of mail for public or private mailboxes – an address can be created for individual team members or company departments.
As well as being a fully functional email client- allowing users to read, filter, reply, forward and create emails – Mailbox allows users to assign an email to other destination within in SquidWeb:
An email can be assigned to a specific category such as ‘Projects’, ‘Invoices’ or ‘Receipts’. Once a mail is assigned to ‘Projects’ for example, it may then be attached to an existing project or a new project can be created directly from the mailbox page:
To create a project directly from the mailbox page, right click the email in the email list or its attachment, the email must have the status ‘assigned’ or ‘received’.
Emails and their attachments will be accessible from their assigned destination.
Mail- Appointments enable to send a new email or replying to an existing email chain, with the option of adding a Jitsi meeting appointment which will be automatically added to the calendar authorized via Squid, which is in most cases Google Calendar.
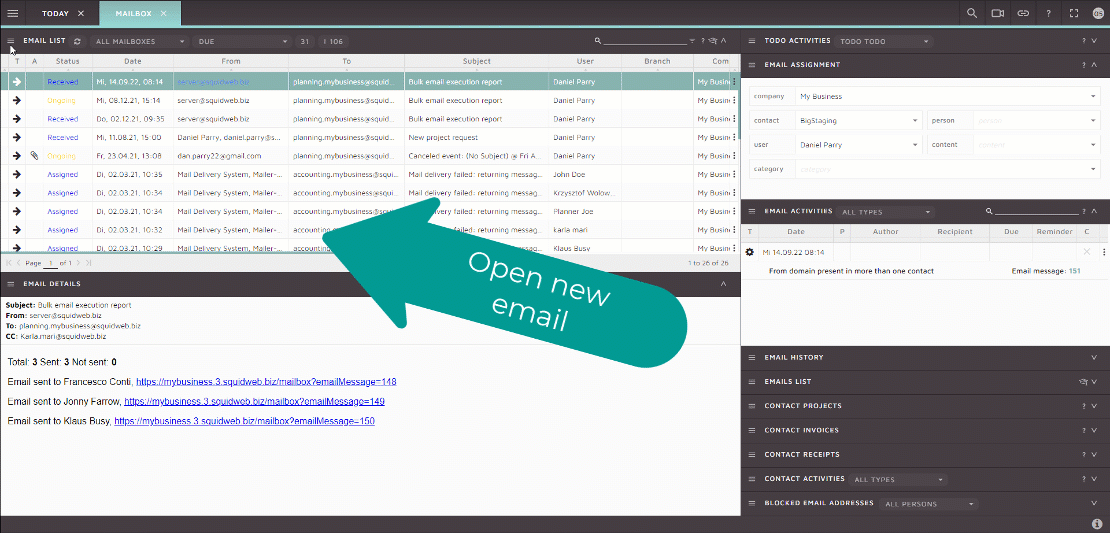
Show email history can be used to quickly identify the history and all statuses connected to an email chain. It can be seen under the specific email and on the right hand side Email history container:
Draft emails can also be created to prevent email lose. If SquidWeb is accidentally closed, or refreshed, for any reason while an email is being written, a draft email will be created to store the email. Saving the content of the mail to be sent later. Once created draft emails can be accessed by selecting the number in the email list container header. Clicking on this button will filter the email list to show only mail with the status “Draft”:
Draft emails can also be filtered by selecting “Draft” from the status filter in the email list header. For details on how to display and interact with the status filter, as well as full details on all other Mailbox features, layout and functionality, watch our tutorial video here:
We may request cookies to be set on your device. We use cookies to let us know when you visit our websites, how you interact with us, to enrich your user experience, and to customize your relationship with our website.
Click on the different category headings to find out more. You can also change some of your preferences. Note that blocking some types of cookies may impact your experience on our websites and the services we are able to offer.
Essential Website Cookies
These cookies are strictly necessary to provide you with services available through our website and to use some of its features.
Because these cookies are strictly necessary to deliver the website, refusing them will have impact how our site functions. You always can block or delete cookies by changing your browser settings and force blocking all cookies on this website. But this will always prompt you to accept/refuse cookies when revisiting our site.
We fully respect if you want to refuse cookies but to avoid asking you again and again kindly allow us to store a cookie for that. You are free to opt out any time or opt in for other cookies to get a better experience. If you refuse cookies we will remove all set cookies in our domain.
We provide you with a list of stored cookies on your computer in our domain so you can check what we stored. Due to security reasons we are not able to show or modify cookies from other domains. You can check these in your browser security settings.
Google Analytics Cookies
These cookies collect information that is used either in aggregate form to help us understand how our website is being used or how effective our marketing campaigns are, or to help us customize our website and application for you in order to enhance your experience.
If you do not want that we track your visit to our site you can disable tracking in your browser here:
Other external services
We also use different external services like Google Webfonts, Google Maps, and external Video providers. Since these providers may collect personal data like your IP address we allow you to block them here. Please be aware that this might heavily reduce the functionality and appearance of our site. Changes will take effect once you reload the page.
Google Webfont Settings:
Google Map Settings:
Google reCaptcha Settings:
Vimeo and Youtube video embeds:
Other cookies
The following cookies are also needed - You can choose if you want to allow them:
Privacy Policy
You can read about our cookies and privacy settings in detail on our Privacy Policy Page.